Channels and groups introduction
Social channels
Social channels are destinations for your listings and content such as a Facebook page or an Instagram account.
To connect to a social channel you will need to have access to that channel. Social channels belong to an account.
The number of social channels you can connect to is determined by your subscription, you can purchase additional channels if you need more than you subscription allows.
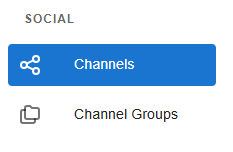
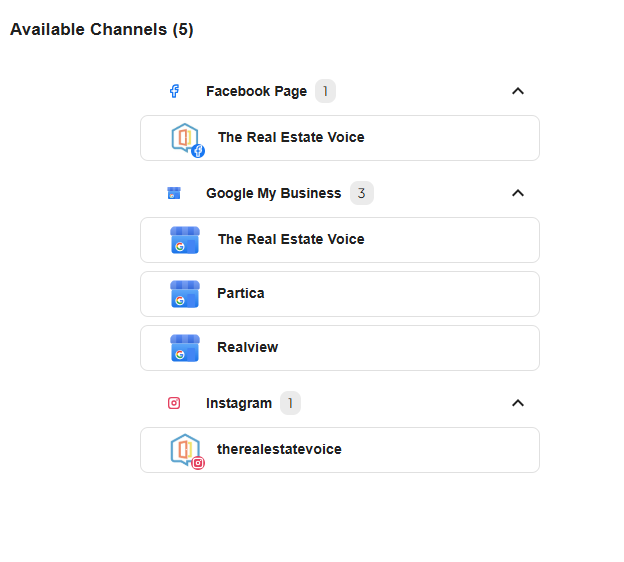
Click on the Channels menu item to see the channels in your account.
To connect a channel, click on Connect Channel:
Then select the social media network you would like to connect:
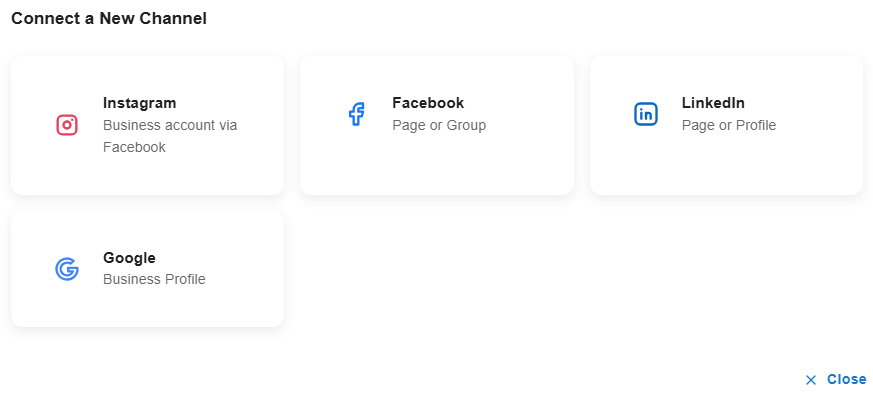
The process for connecting each channel varies, but you will need to login to approve the connection.
Channel Groups
Channel groups are an easy way to share to different social channels.
There is a default "All Channels" group created by default that contains all the channels you have connected, so you may not need to use channel groups.

If you are a single agent or a small office and only have one Facebook page and one Instagram account, then you don't need to create a seperate group. You can just share to the "All Channels" group.
However, groups make it easy to share content to multiple social channels at once. For example you may create a group that has an Office Facebook page and two agent Facebook pages, along with all of the corresponding Instagram pages. Or you could create a group for each one of your teams.
When you share to a group, your content will shared to every social channel in that group. Keep in mind, however, that some content is not compatible across social channels and will be ignored if that is the case. For example there is no such thing as a story on LinkedIn.
Managing Groups
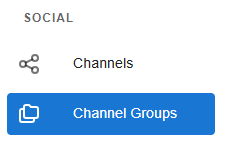
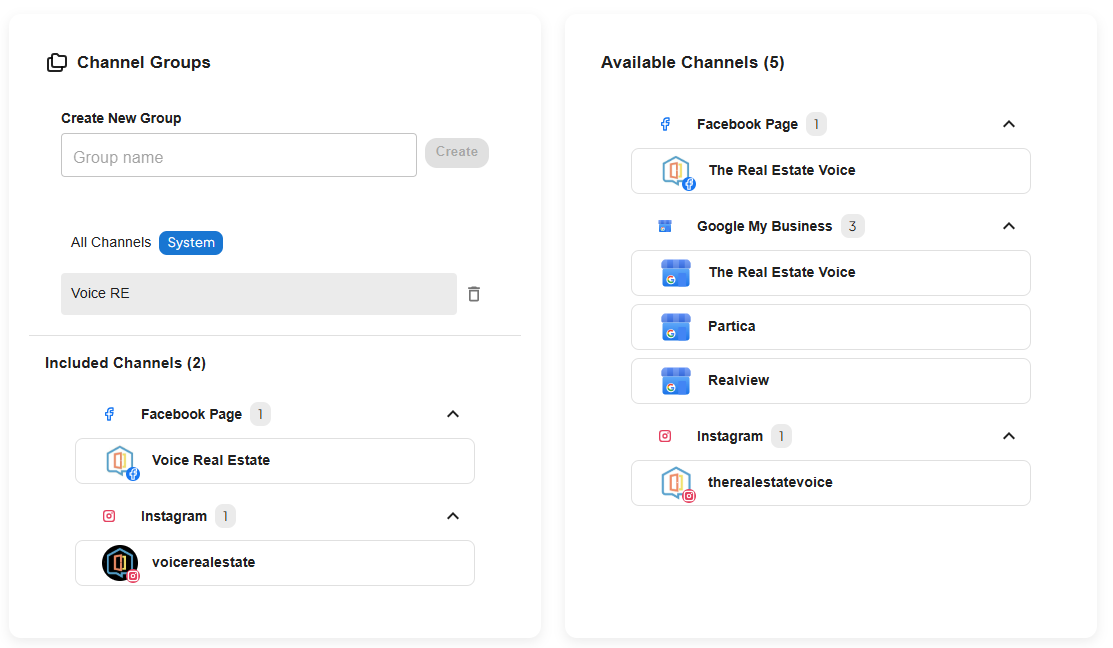
Click on Channel Groups to see or manage groups you have in your account:
You will see Channels groups you have one one panel:

and available channels on the other. Note that you need to select or create a channel group to see the available channels:
Creating a new group
To create a new group, enter a name for the group and click Create:

Click on the group you have created, and then you can click on the Available Channels you want included in the group:
Click on the channel in the group to remove it.
Note that removing a channel from a group will not prevent already scheduled posts from going our to that channel.